Editing your Instagram Story before posting is a crucial step to ensure your content is polished, engaging, and aligned with your creative vision. Here’s a simple guide on how to go about it:
Enhance your online presence through the use of #hashtags.
Using hashtags strategically can indeed help increase the visibility of your posts on platforms like Instagram and Twitter. Here’s a guide on how to effectively use hashtags to gain more visibility:
- Research Relevant Hashtags:
- Before using hashtags, research the ones that are relevant to your post’s content, your brand, and your target audience.
- Look at what hashtags your competitors and influencers in your niche are using.
- Mix Popular and Niche Hashtags:
- Include a mix of popular and niche-specific hashtags. Popular ones have a broader audience, while niche ones cater to a more focused group interested in your content.
- Be Specific and Descriptive:
- Use hashtags that accurately describe the content of your post. For example, if you’re posting a picture of your homemade chocolate cake, use hashtags like #HomemadeChocolateCake or #BakingDelights.
Include gifs
What is the best way to express a feeling, an emotion, a mood or a state of mind? Using stickers or gifs. They are there to make your posts stand out and to make your messages more human, not to mention they’re simply so much fun.
Enhance user engagement by including interactive features like questions, polls, or quizzes.
Adding interactive features like questions, polls, and quizzes to your social media posts can significantly enhance engagement and encourage your audience to participate in your content. Here’s how to effectively use each of these interactive elements:
- Interactive Questions:
- When creating an Instagram Story, tap on the sticker icon and select the “Questions” sticker.
- Type in a question that encourages your followers to share their thoughts or experiences.
- Your audience can respond directly to your question, and you can repost their responses to continue the conversation.
- Polls:
- Similar to questions, tap the sticker icon in your Instagram Story and select the “Poll” sticker.
- Customize the poll options. For instance, you can ask yes/no questions or offer multiple-choice options.
- Viewers can choose an option, and you’ll see real-time results as well.
Employ the location sticker.
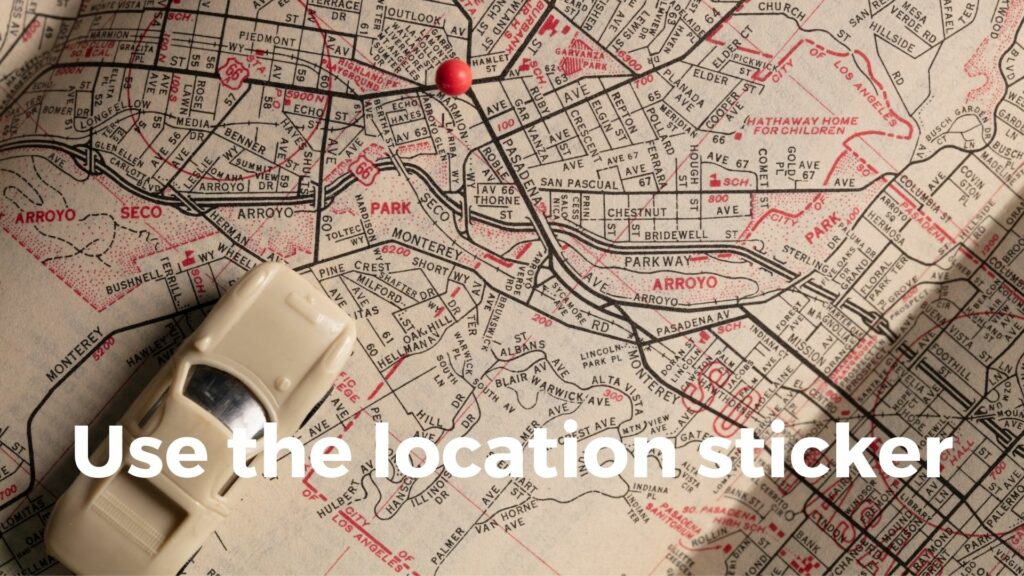
Using the location sticker in your Instagram Stories is a great way to connect with your audience, provide context, and increase the discoverability of your content. Here’s how to effectively use the location sticker:
- Access the Sticker Tray:
- When creating an Instagram Story, capture a photo or video, then tap on the square smiley face icon at the top right corner of the screen to access the sticker tray.
- Select the Location Sticker:
- Among the various sticker options, you’ll find the location sticker represented by a location marker icon.
- Tap on the location sticker to add it to your Story.
- Search for Your Location:
- After adding the location sticker, you can search for a specific location. Instagram will suggest locations based on your device’s location, recent searches, and commonly tagged places.
- Choose the Right Location:
- Once you find the location you want to tag, tap on it to add it to your Story. This will overlay the location’s name on your content.
- Resize and Reposition:
- You can resize and reposition the location sticker by using pinch and drag gestures. Place it where it doesn’t obstruct essential elements of your content.
- Add Multiple Locations (If Applicable):
- For content that spans multiple locations or events, you can add additional location stickers to different parts of your Story.
- Benefits of Using Location Stickers:
- Context: Location stickers provide context to your audience, helping them understand where you are or what’s happening in your content.
- Discoverability: When you tag a location, your Story becomes discoverable to anyone who views that location’s Story or explores posts related to that area.
- Community Engagement: Location tags can foster engagement from locals or people interested in that area, leading to more interaction with your content.
- Travel and Events: If you’re sharing travel experiences or attending events, location stickers can help capture the essence of your journey.
- Tips for Using Location Stickers:
- Choose relevant and accurate locations to maintain authenticity.
A guide to editing Story highlights
Editing Story Highlights on Instagram allows you to curate and organize your Stories into a collection that stays on your profile permanently. Here’s a step-by-step guide on how to edit your Story Highlights:
- Access Your Profile: Open the Instagram app and tap on your profile picture at the bottom right corner of the screen. This will take you to your profile page.
- View Existing Highlights:
- On your profile page, under your bio and above your feed, you’ll find circles that represent your existing Story Highlights.
- Tap on the circle representing the Highlight you want to edit.
- Access Highlight Settings:
- Once you’re in the Highlight, tap the three dots (ellipsis) at the bottom right corner of the screen. This will open a menu of options.
- Edit Highlight:
- From the menu, select “Edit Highlight.” This will take you to the editing interface for that specific Highlight.
- Add or Remove Stories:
- To add more Stories to the Highlight, tap on “Add” or the “plus” icon. This will allow you to select Stories from your archived Stories collection.
- To remove Stories, tap and hold on a Story within the Highlight, and then choose “Remove” or the “trash” icon.
- Reorder Stories:
- If you want to change the order of Stories within the Highlight, press and hold a Story thumbnail, then drag it to the desired position.
- Edit Cover Image:
- You can change the cover image of your Highlight to represent its content better. Tap “Edit Cover” and choose a Story from the Highlight or upload a new image from your gallery.
- Add Title and Description:
- You can add a title and description to the Highlight to provide context for your audience. Tap “Edit Highlight” and enter the desired text.
- Save Changes:
- After making all the desired edits, tap “Done” or the checkmark icon to save your changes.
- Back to Profile:
- Once you’ve finished editing the Highlight, you’ll be taken back to your profile page. The changes you’ve made will be reflected in the Highlight.
Remember that you can create multiple Highlights on your profile, each dedicated to a different topic or aspect of your content. Editing Highlights allows you to keep your profile organized and showcase your best stories in a way that resonates with your audience.
COMMENTS